
Hey, Nasser here 👋
If you’ve ever tried to use snappyHexMesh (SHM) and thought, “why did it do that?!” – you’re not alone.
In fact, I remember the first time I used it, thinking I can just get away with a given template…I was wrong!
As soon as I wanted to generate a mesh for a different CAD model with a little more geometric complexity, I was fighting with more settings than I could count – almost giving up on it altogether!
But, I’m glad I didn’t.
Here I share what actually worked for me and how you can use it more predictably.
Now let’s get started…
What is SHM really? (you should know this before touching it…)
SHM comes included with your OpenFOAM installation as a native meshing utility. This is my ESI installation:
Official documentation (see here) refers to it as a mesh “generator”, but it’s more like a mesh “modifier” to be honest.
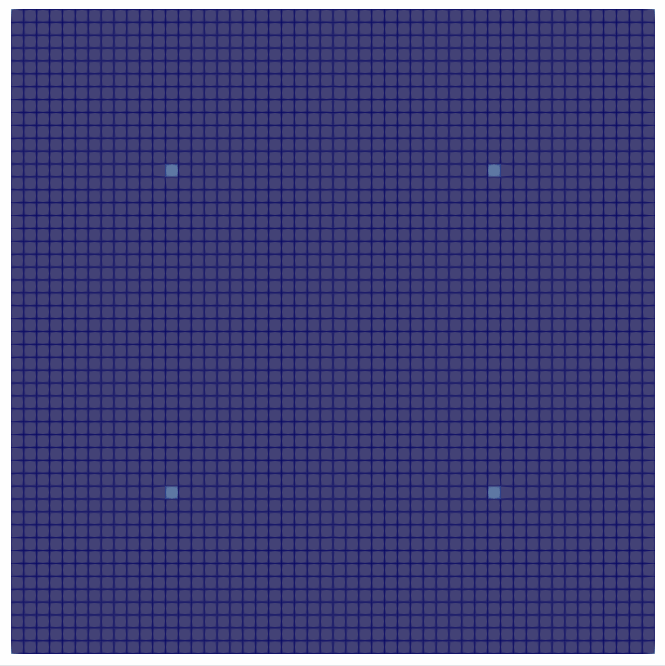
You always start with an existing mesh that usually encapsulates your complete CAD geometry.
This often sets the base cell size for the rest of the meshing process, so is often generated with enough resolution from which SHM can do its thing.
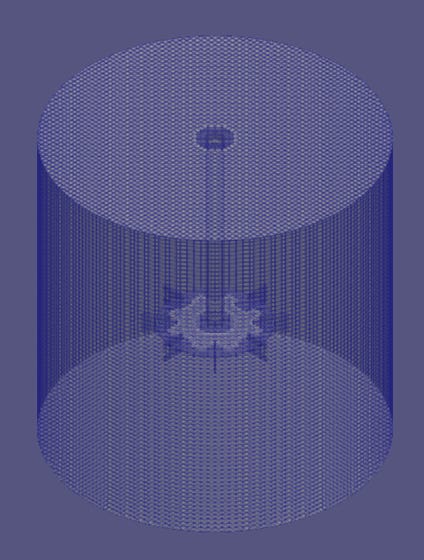
If you’ve been following my content, I always like to boil everything down with the most simple examples to focus on understanding.
How it practically works
SHM has a sequential workflow – there are several stages to the pipeline and none of them can work without the one before it (!).
Remember that.
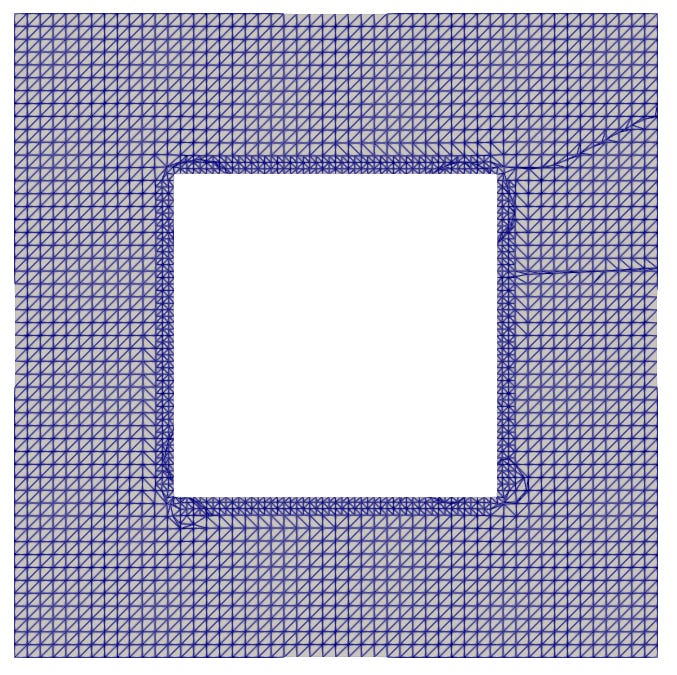
Stage A: Castellated refinement (controlled by editing the ‘castellatedMeshControls’ section)
-
Split cells at feature edges
-
Split at surface
-
Remove internal / external cells
Stage B: Surface snapping (controlled by editing the ‘snapControls’ section)
-
Points close to the model surface are snapped to it to generate a conforming mesh
Stage C: Layer addition (optional, controlled by editing the ‘addLayersControls’ section)
-
Boundary layers are created in specified regions
Once the dictionary has been setup, the exact commands you’ll need to execute are:
-
blockMesh (generate the background / base mesh) -
surfaceFeatureExtract (extract the surface CAD geometry) -
snappyHexMesh (run the meshing process as per the setup) -
touch case.foam (view the output in ParaView)
Why meshing can go wrong (and how you can improve it)
Generating a mesh was always a tedious process, especially for complex or industrial-level geometry, but believe me it is possible.
Before blaming SHM, consider the following:
Is the background mesh regular and ordered?
SHM works best with a fairly coarse base mesh, relative to the STL triangle size.
Try adding / removing cells in the X, Y or Z span.
Are feature edges explicitly captured?
You can use “surfaceFeatureConvert model.eMesh model.obj” to verify the feature edges are being picked up in ParaView.
Is the snap stage actually moving points sufficiently?
Check the snapControls section for tolerances.
Is there enough geometric space for the requested layers?
There should be a minimum amount of space in the region for the layers to generate. Go back and edit the CAD model to ensure there is sufficient space where layers are required.
This weeks poll:
What I’ve been watching / listening to this week:
Until next week. 👋
Nasser